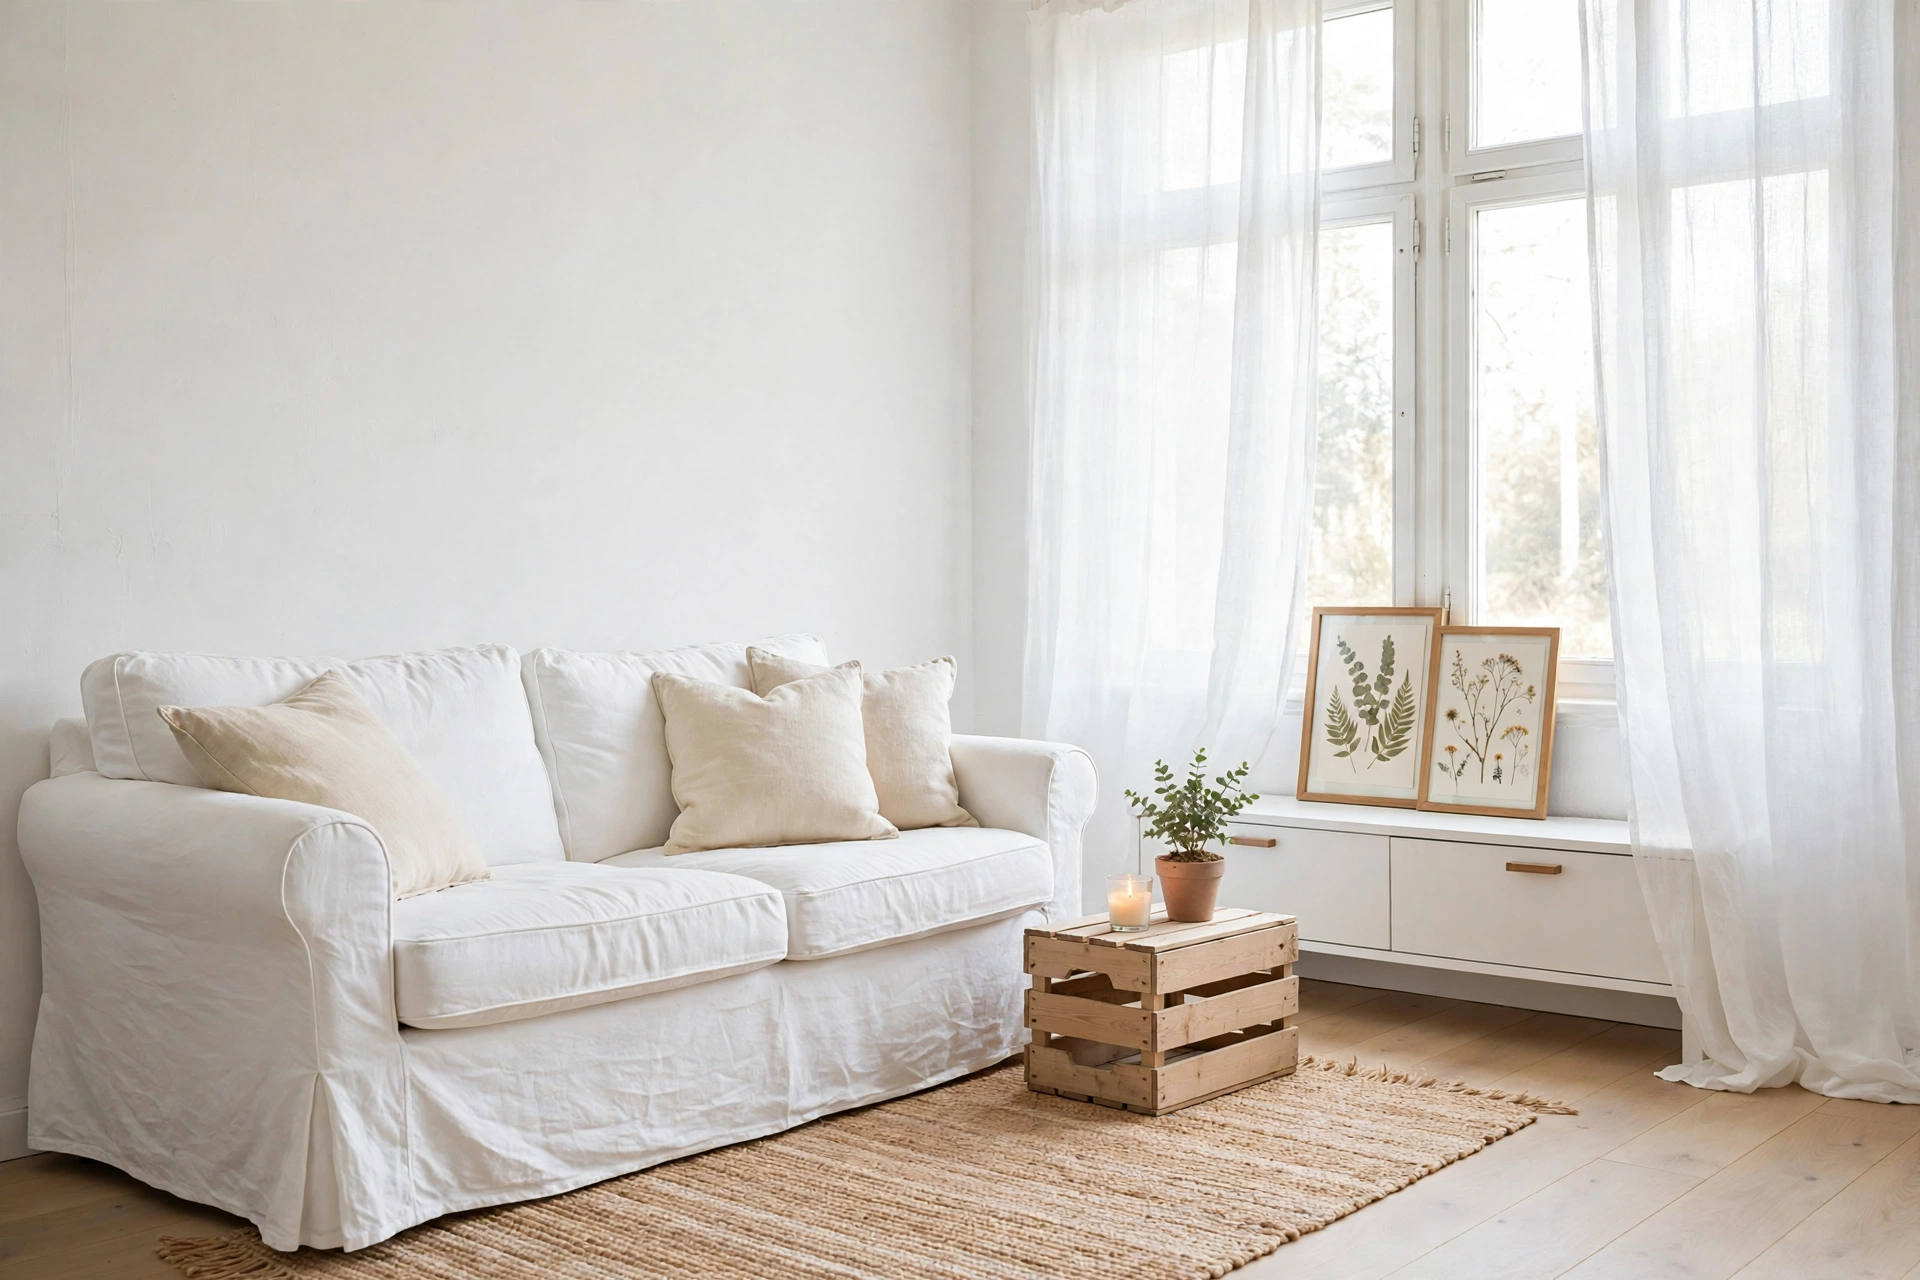
A real renovation costs about $30,000, takes six weeks, and requires you to cook in your bathtub for a month. Micro renovations cost under $200, take a Saturday, and the only thing you have to cook is lunch.
The idea is simple and honest: forget the demolition, the permits and the contractor who never calls back. The 2027 shift is toward tiny, high-impact upgrades — one surface, one fixture, one afternoon — that make a room feel brand new. This guide has 12 of them, every one tested against real budgets, real weekends, and real people who own exactly one drill. Let’s turn that Saturday into a glow-up.
What Counts as a Micro Renovation (The 4 Tests)
Before you spend a single dollar, run every idea through these four tests — they are what separates a micro renovation from “a project that eats your spring”:
- Under $200. All-in: materials, shipping, the coffee you bribe yourself with. If it creeps past $200, it’s a medium renovation wearing a fake mustache.
- Under a day. Start Saturday morning, done by dinner. If it needs three weekends, it’s not micro — it’s a commitment.
- No contractor. If you need someone else’s license, it’s not this list. You, your toolbox, maybe a YouTube video, done.
- Mostly reversible. Renters deserve renovations too. At least half the ideas below come off cleanly when you move out — and the rest are small enough that your landlord won’t notice or won’t care.
Pass all four? You have a micro renovation. Let’s shop.
1. Peel-and-Stick Backsplash in the Kitchen
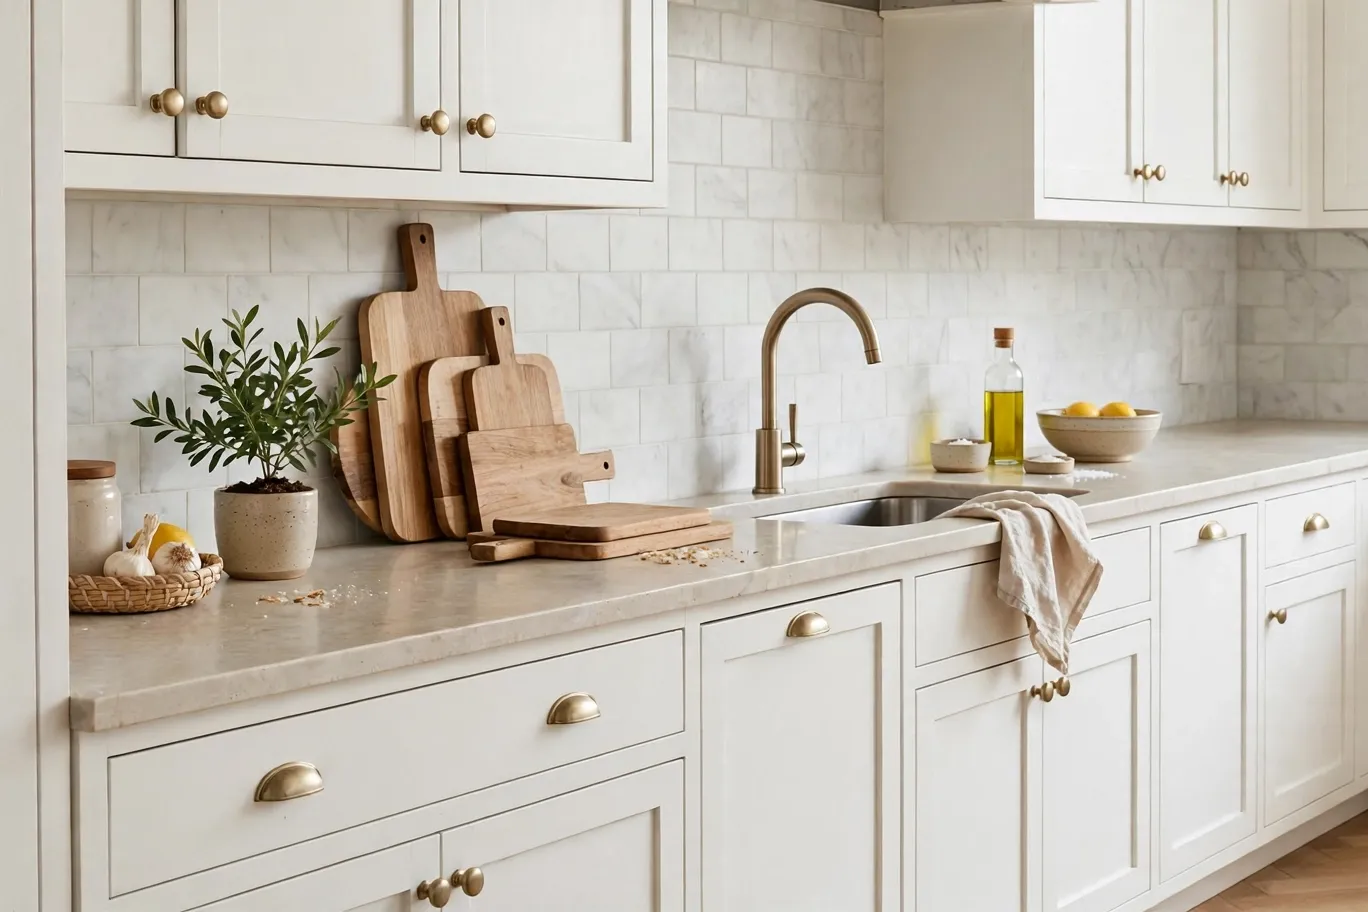
The highest-drama $80 in all of home decor. Peel-and-stick backsplash tiles — the thick ones with real texture, not the thin stickers — transform a plain kitchen wall in about three hours. Clean the wall, peel, stick, press. Cost: $60–$90 for a standard strip behind the stove and sink. Skill level: easier than wrapping a gift. This is the classic first move in our budget living room makeovers logic: change one wall, change the whole room’s story.
2. Swap Every Cabinet Knob and Pull for Brushed Brass
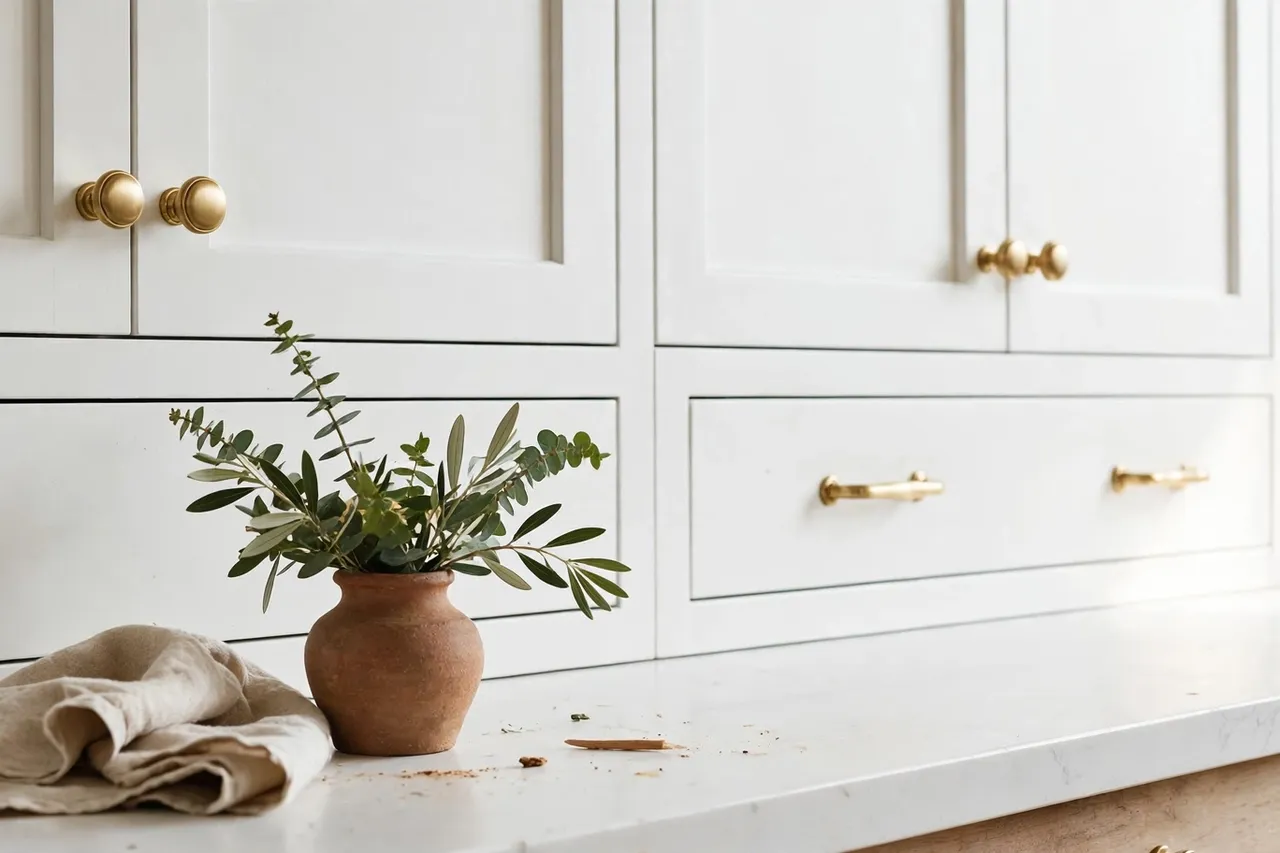
A kitchen’s jewelry. Swapping hardware is the single fastest way to age a kitchen down by ten years: old kitchens wear shiny chrome or tired wood knobs; renovated ones wear brushed brass or matte black. All you need is a screwdriver and $40–$80 for a full kitchen set of knobs and pulls (multi-packs are your friend). Time: about an hour. Skill: if you can turn a screwdriver, you are hired. Choose one finish for the whole room — mixed metals are a design trend, but beginners get cleaner results with matching sets.
3. Plug-In Wall Sconces (Real Sconce Light, Zero Wiring)
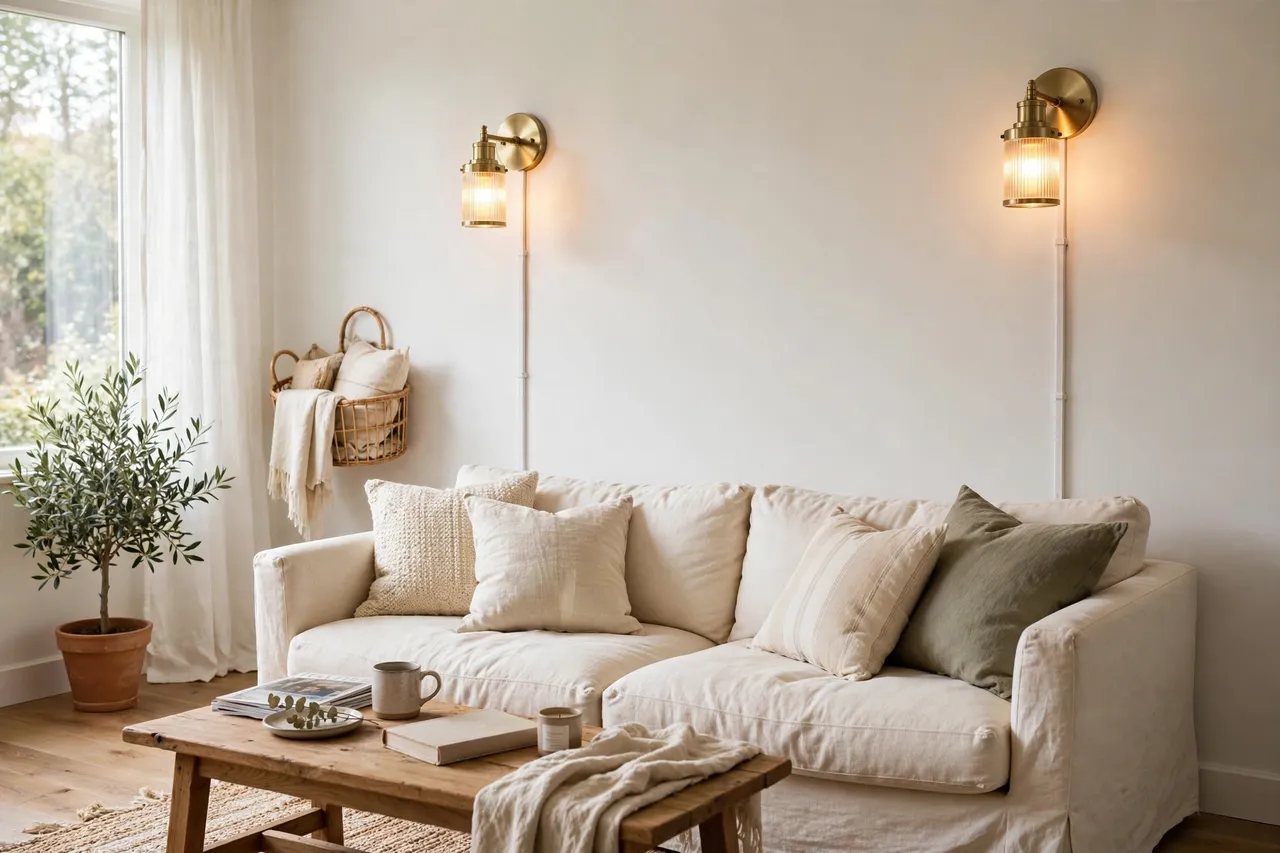
The wiring is the magic trick — there is none. Plug-in sconces hang on a hook or screw, plug into a normal outlet, and the cord runs down the wall inside a slim cover you paint to match the wall color. From across the room, it looks like a $400 hardwired installation. Cost: $50–$90 for a pair, plus $10 for cord covers. Time: under an hour per pair. Skill: can you hang a picture? Then you can hang light. Two of these flanking a bed or a sofa instantly say “designer was here.”
4. Peel-and-Stick Floor Tiles in the Entryway or Laundry
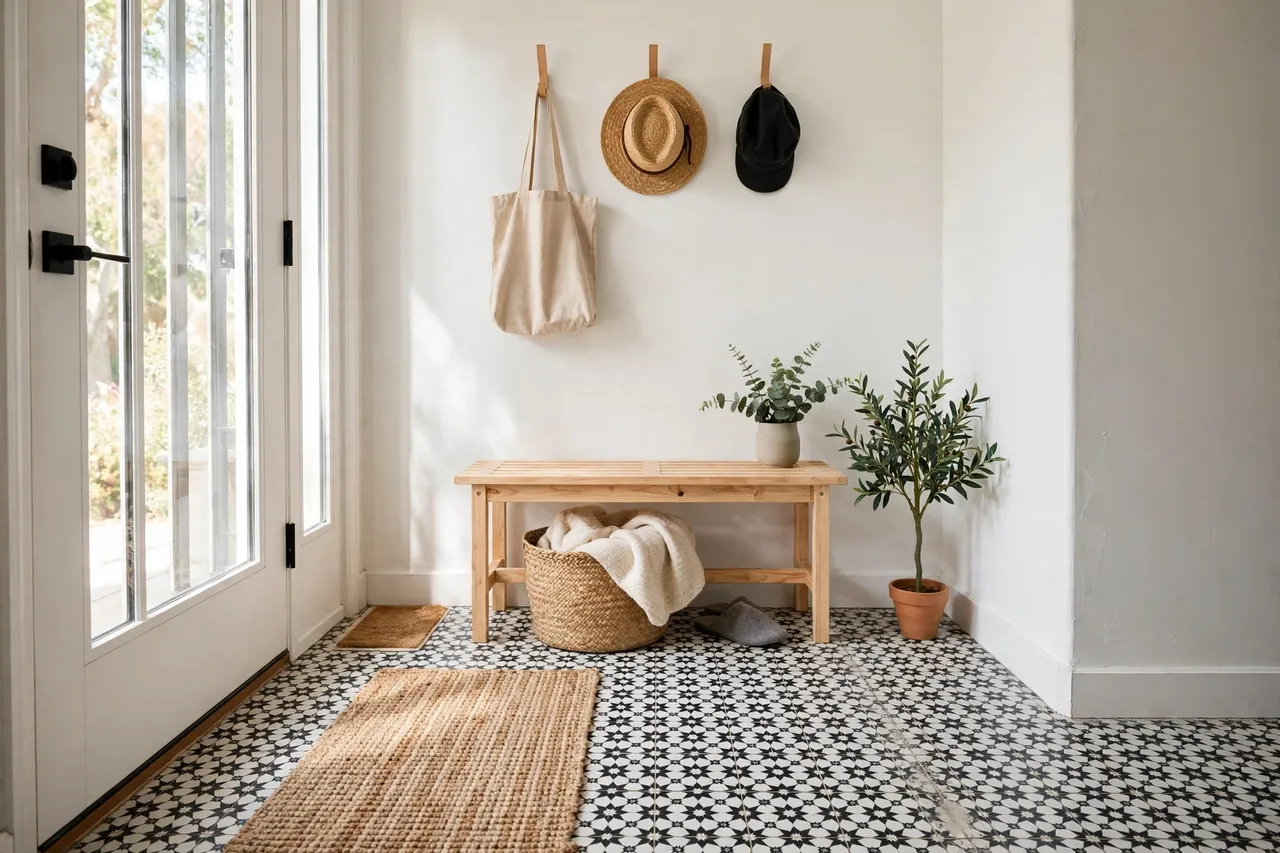
A weekend floor, no jackhammer. Those sad builder-grade entryways and laundry rooms? They get a whole new floor in one afternoon with peel-and-stick vinyl tiles — go for a checkerboard or a herringbone-look pattern to maximize the wow. Cost: $70–$130 for a small entryway (measure twice, order once). Time: 3–4 hours including cutting. Skill: a steady hand and a good utility knife. This is a classic small apartment living room ideas move — start at the entryway, because it’s the first thing you see when you come home.
5. Frame the Builder-Grade Bathroom Mirror With Stick-On Trim
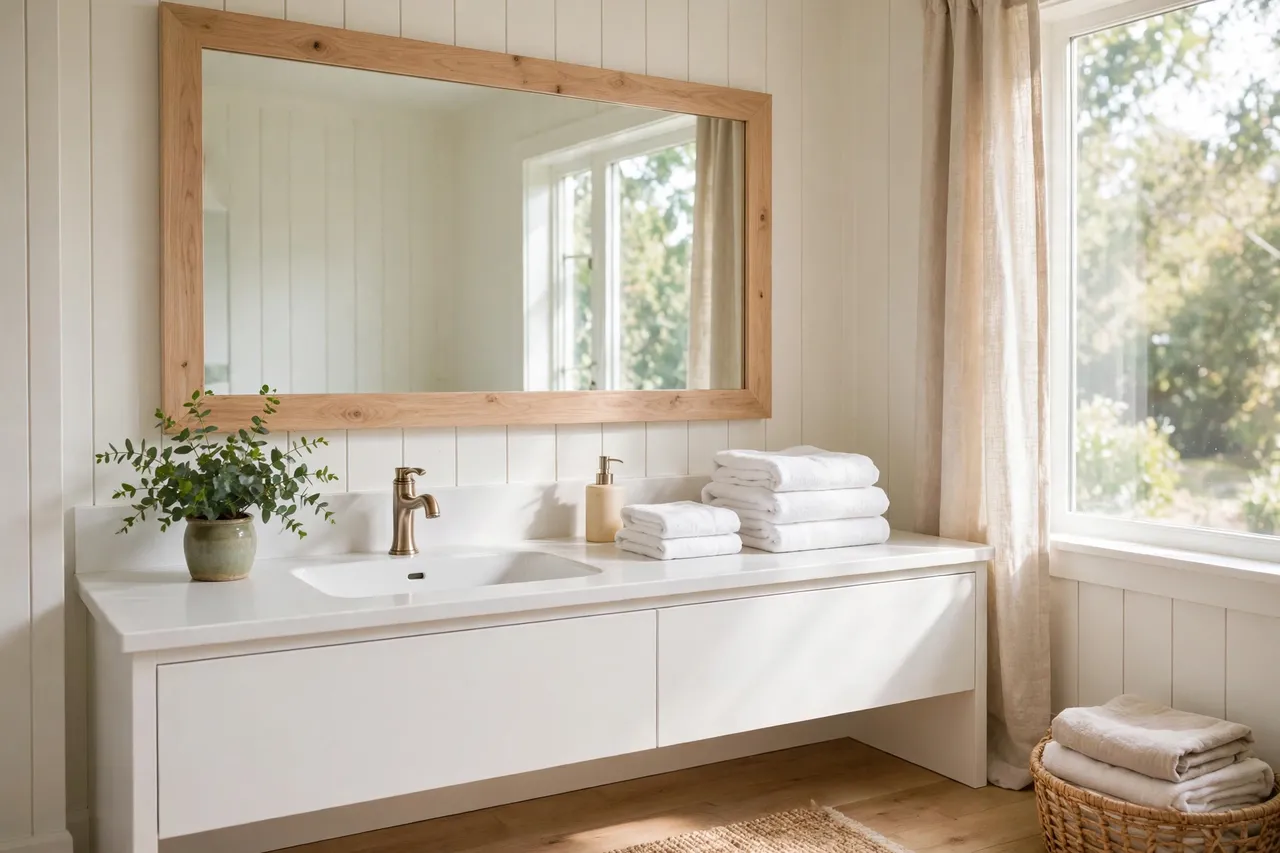
From rental-flat to custom-built in one hour. That giant frameless bathroom mirror screams “contractor’s special.” Measure it, cut lightweight trim (pre-primed wood or the adhesive-backed frame kits sold for exactly this), and stick it around the edges with construction adhesive. Paint it to match your cabinets or go bold in black. Cost: $25–$45. Skill: measuring carefully is the hard part; the sticking is easy. Renters: this one is reversible with careful removal — or just leave it, because no landlord has ever complained about a nicer mirror.
6. Under-Cabinet LED Strip Lighting (Plug-In)
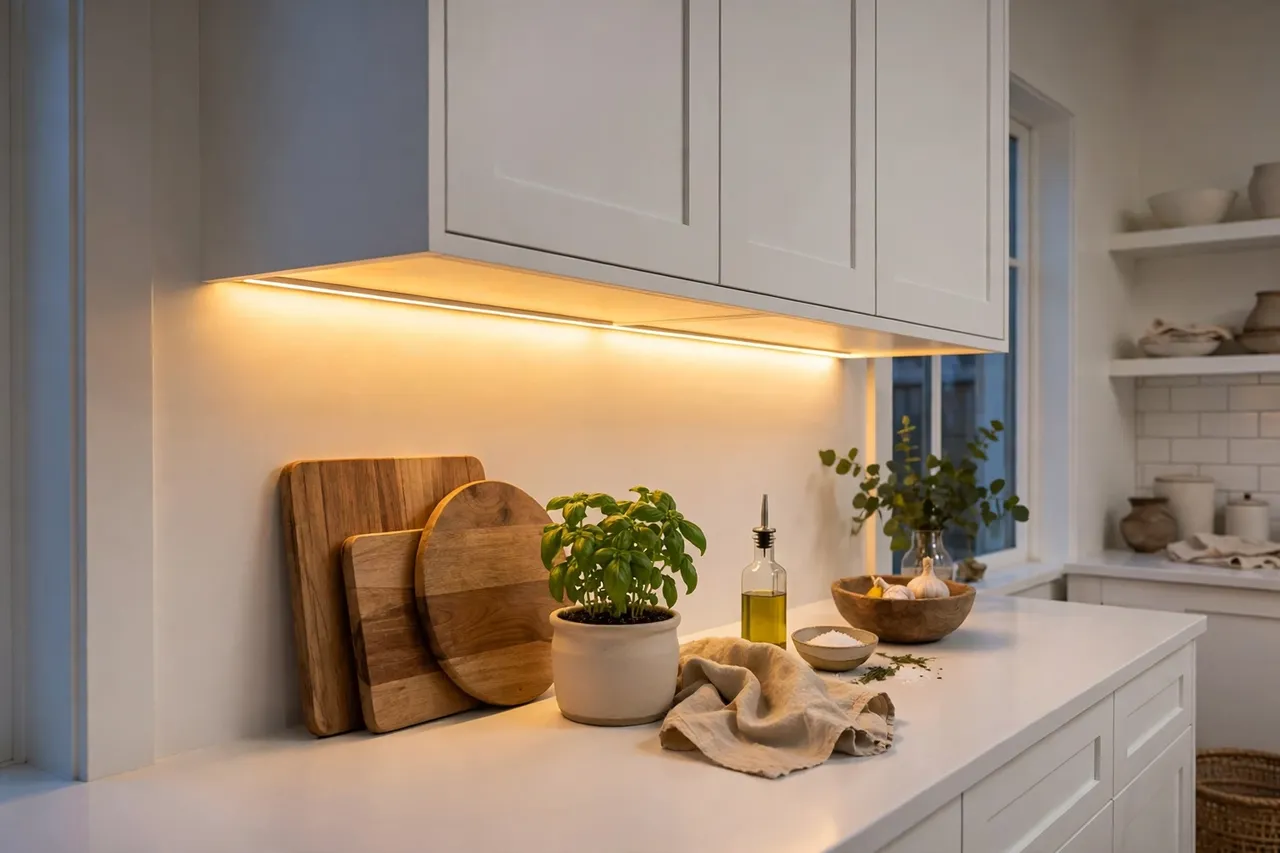
Kitchens glow up instantly. A $25 roll of warm-white LED strip lighting, plugged into the outlet above your cabinets, turns an ordinary kitchen into one of those kitchens — the ones in photos. Stick the strips under the upper cabinets (warm white, 2700–3000K, never cool blue), and the countertops suddenly have depth and drama. Cost: $25–$40. Time: 30 minutes. Skill: peeling and sticking. The strips are also renter-friendly, and your evening cooking photos will thank you forever.
7. A New Faucet in Matte Black or Brushed Brass
Basic DIY, huge perceived value. A dated chrome faucet makes an entire kitchen or bathroom look old, and replacing it is genuinely a one-afternoon job: turn off the water valves, unscrew the old one, screw in the new one, reconnect. Cost: $80–$150 for a well-reviewed faucet. Skill: beginner-plus — watch one video first, keep a bucket under the sink for the first test.
8. One Limewashed Wall (The Painterly Micro-Reno)
Texture that looks like a Tuscan holiday. Limewash paint (or a color-wash technique with diluted matte paint) gives one wall a soft, cloudy, hand-painted finish — the kind of texture that photographs like a boutique hotel. You need limewash paint ($60–$90 a gallon, one gallon covers an accent wall) and a big brush, and you apply it in loose crisscross strokes. Time: a morning, plus drying. Skill: gloriously forgiving — the whole point is that it looks handmade, so mistakes are literally the aesthetic. Do the wall behind your bed or the fireplace surround and let the rest of the room stay white.
9. The Interior Door Makeover: Fresh Paint + a Modern Knob
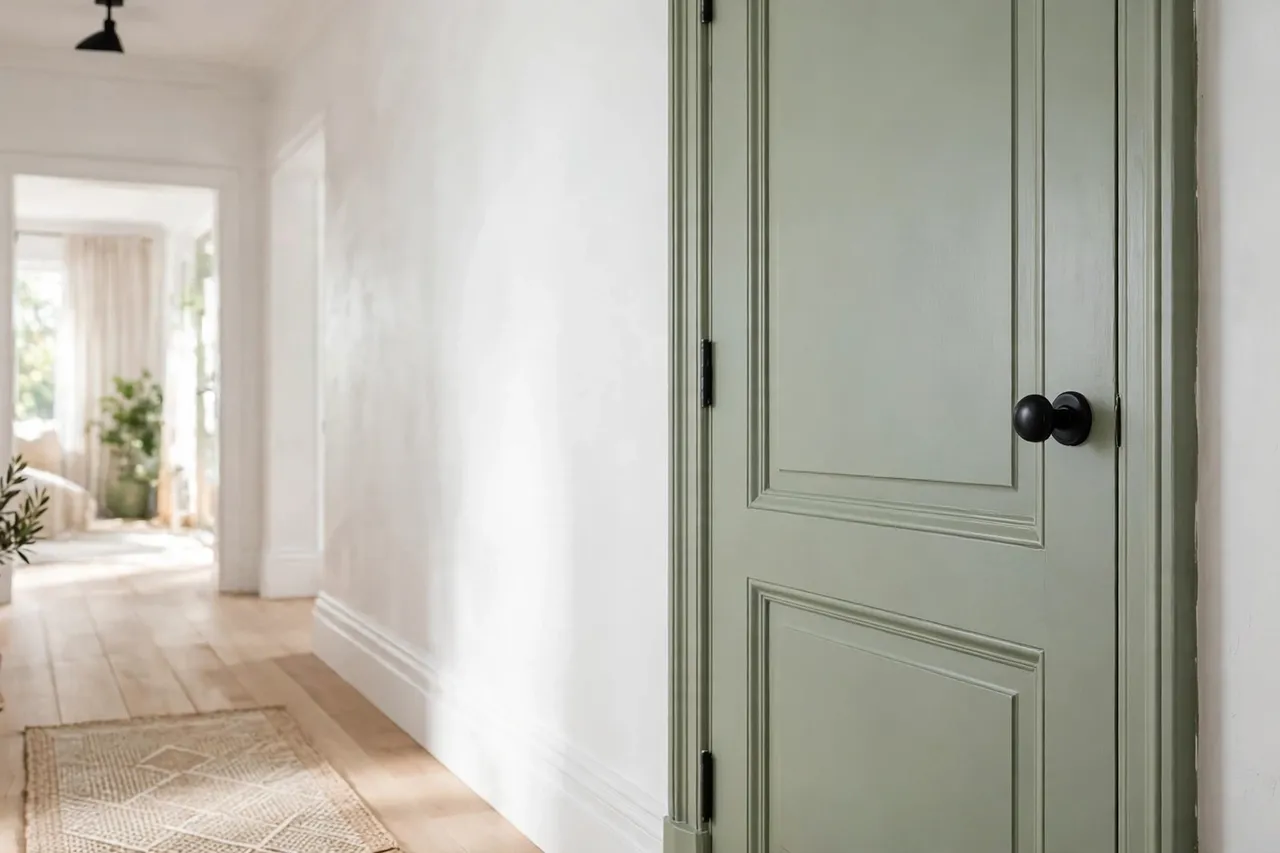
The most-ignored surface in your entire house. Interior doors take up more visual space than almost any furniture, and most of them are still wearing the builder’s flat white with a tired brass knob. Paint one (or all) in a soft sage, warm white or charcoal, and swap the knob for a modern matte-black lever — $30–$60 total for paint and hardware. Time: half a day including drying between coats. Skill: basic painting.
10. Privacy Window Film That Looks Like Frosted Glass
Light in, neighbors out. Static-cling privacy film turns any window into frosted or fluted glass — real daylight still pours in, but nobody can see your life. It applies with water and a squeegee, peels off with zero residue (renters, this one is for you), and costs $20–$40 for a few windows. Time: 20 minutes per window. Skill: patience and a spray bottle. The fluted-glass patterns look genuinely expensive from inside and out — your bathroom and street-facing windows just got an upgrade that would cost thousands in real glass.
11. Modern Outlet and Switch Covers + Two Smart Plugs
Tiny, oddly satisfying, and you touch them every day. Yellowed plastic outlet covers and chunky old switches date a room in a way you stop seeing until you fix it — then you can’t unsee the difference. A box of sleek white screwless covers costs about $20–$30 for a whole room; add two smart plugs ($15–$25) and your lamps are suddenly voice-controlled. Time: an hour. Skill: flip the breaker first, then it’s just screws. This is the micro renovation you will appreciate at 11 PM every night.
12. A Plug-In Pendant Over the Dining Table (No Electrician)
The room’s chandelier moment, minus the electrician. A plug-in pendant — a cord that drapes from a ceiling hook, down the wall inside a cord cover, to an outlet — gives you a real statement light over the dining table without touching a single wire. The trick is a ceiling cord cover painted to match, which makes the whole thing look intentional. Cost: $60–$120 for a good-looking pendant and shade. Time: about an hour. Skill: hanging a plant hook. Your dining table just went from “eating surface” to “dinner party.”
Start With These Three (If Your Budget Is Only $100)
If the wallet says $100 and not $200, do these in this order — they stack, and each one makes the next one look better:
- Hardware swap ($40–$80). Knobs and pulls first. One hour, whole kitchen feels younger.
- LED strip lighting ($25–$40). The hardware you just installed now glows. Magic.
- Interior door paint + knob ($30–$60). The backdrop catches up with the details.
Three Saturdays, under $100 each, and guests will ask when you renovated.
FAQ
Are micro renovations worth it before selling a home?
Yes — with one rule: spend the $200 on what buyers photograph, not what you personally dream about. Fresh hardware, a new faucet, framed mirrors and bright LED strips all read as “updated home” in listing photos. Your dream wallpaper is not their dream wallpaper.
Which of these are renter-safe?
The peel-and-stick everything (#1, #4), plug-in sconces and pendants (#3, #12), LED strips (#6), privacy film (#10), outlet covers (#11) and the hardware swap (#2 — just keep the old knobs in a bag for move-out day). That’s more than half the list. The same no-holes philosophy runs through our rental friendly christmas decor ideas too — renters can absolutely renovate, just in removable layers.
What tools do I actually need?
For all 12 ideas: a screwdriver set, a tape measure, a utility knife, a level, painter’s tape, a bucket and a squeegee (for the film). That’s it. The drill only appears for the sconce hooks and pendant ceiling hook, and a $40 basic drill pays for itself by project #2. No tile saw, no miter saw, no excuses.
Where should I NOT cheap out?
Two places. First: adhesive quality — cheap peel-and-stick tiles and cheap command strips are how things fall off walls at 3 AM. Buy the well-reviewed brands. Second: faucet internals — a $60 faucet with plastic internals will leak in a year; a $90–$120 one with ceramic valves lasts a decade. Everything else on this list, the budget version is genuinely fine.
Big rooms get renovated once a decade. Smart rooms get micro-renovated every Saturday. Save this list for your next free weekend — and follow on Pinterest for one small, doable upgrade every single day. 🛠️