
There is a very specific moment every December. The tree is up, the boxes are open, ornaments are rolling across the floor — and you are standing there holding a single bauble, thinking: where do I even start? If you have ever searched how to decorate a christmas tree while standing in exactly that spot, this guide was written for you.
Here is the good news: a beautiful tree is not about talent, and it is definitely not about owning more ornaments. It is about order. Designers decorate every tree — skinny apartment tree or grand 9-foot (2.7 m) showpiece — in the same simple sequence. Follow the steps below, in order, and the tree practically decorates itself. Put the kettle on. Let’s go.
Before You Start: Pick Your Look, Gather Your Things
Ten minutes of planning saves an hour of rearranging later.
Choose your look first. Of all the christmas tree decorating ideas in the world, the prettiest trees start with this one decision. The easiest tree to love is built on a calm base: snowy white and warm cream, natural textures like wood, linen and pinecones, and one accent color doing all the festive talking. For a classic Christmas, that accent is a soft, light touch of burgundy — ribbon, a few berries, plaid bows — with maybe a whisper of gold for sparkle. If you lean calm and minimal, the snowy, simple style in our Scandi Christmas decor guide is a beautiful palette to borrow for your tree. Whatever you choose, decide now, and let every ornament you hang answer to it.
Gather your supplies in one spot:
- Lights — plugged in and tested before they go anywhere near the tree
- Wired ribbon (2.5 in / 6.5 cm wide is the sweet spot), or a garland
- Ornaments, sorted into three piles: big, medium, small fillers
- Ornament hooks, plus a few twist ties or floral wire
- Scissors, a step stool, and gloves if your tree is real (pine needles have opinions)
- A timer plug for the lights — future you, coming home to a glowing tree, says thanks
Step 1: Fluff and Shape the Tree Properly
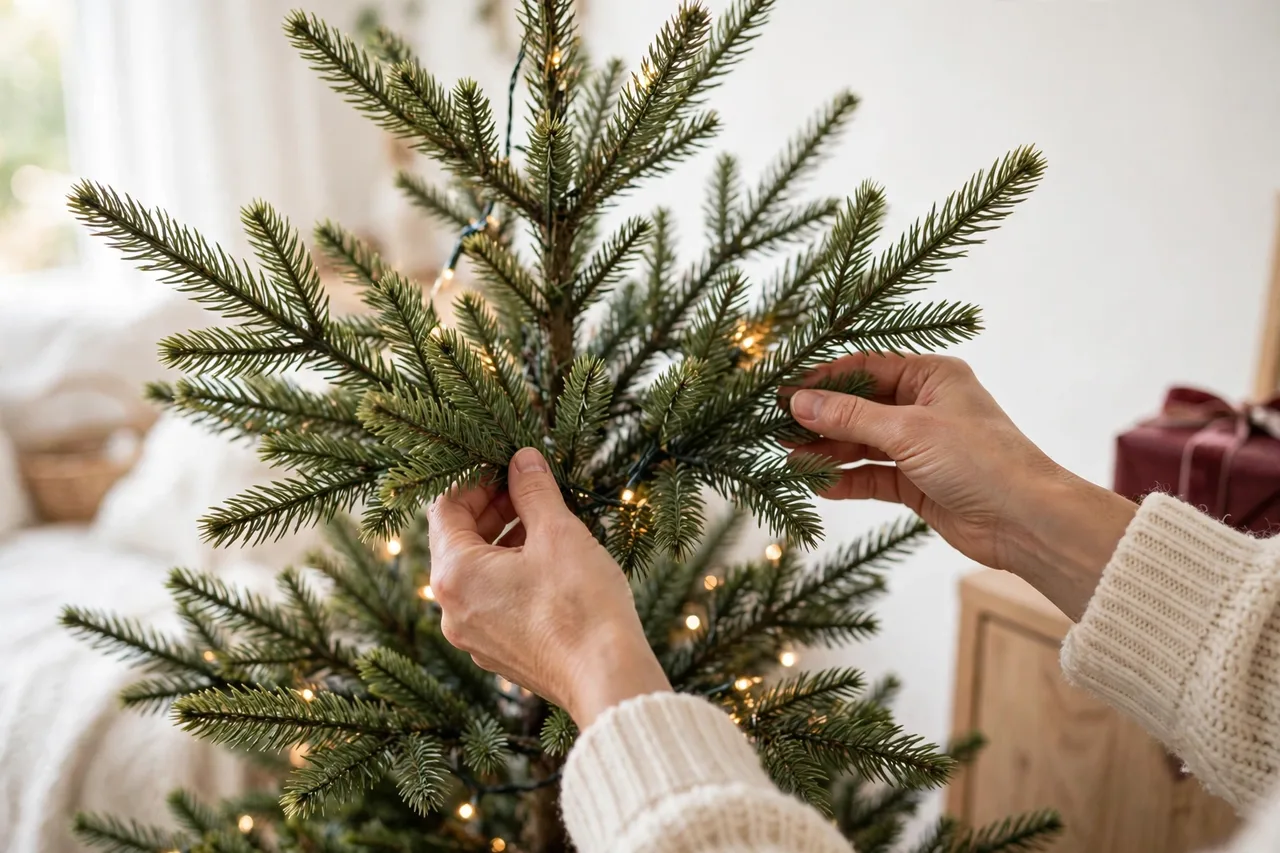
This is the step everyone skips, and it is the whole reason some trees look lush and others look like they’ve had a difficult year. Straight out of the box (or the lot), branches are squashed flat. Your job: open them up, one branch at a time, working from the bottom of the tree to the top, and from the trunk outward.
Fan each branch’s tips in different directions — some up, some out, some down — like a little peacock tail. Fill the dark gaps near the trunk so you don’t see straight through the tree. Rotate the tree as you go (or walk around it) so it looks full from every angle it will actually be seen.
It takes 20–30 minutes and it is not glamorous. It is also the single biggest difference between a “fine” tree and a stunning one. Fluff now, thank yourself at every step after this.
Step 2: Lights First — and Weave Them Deep
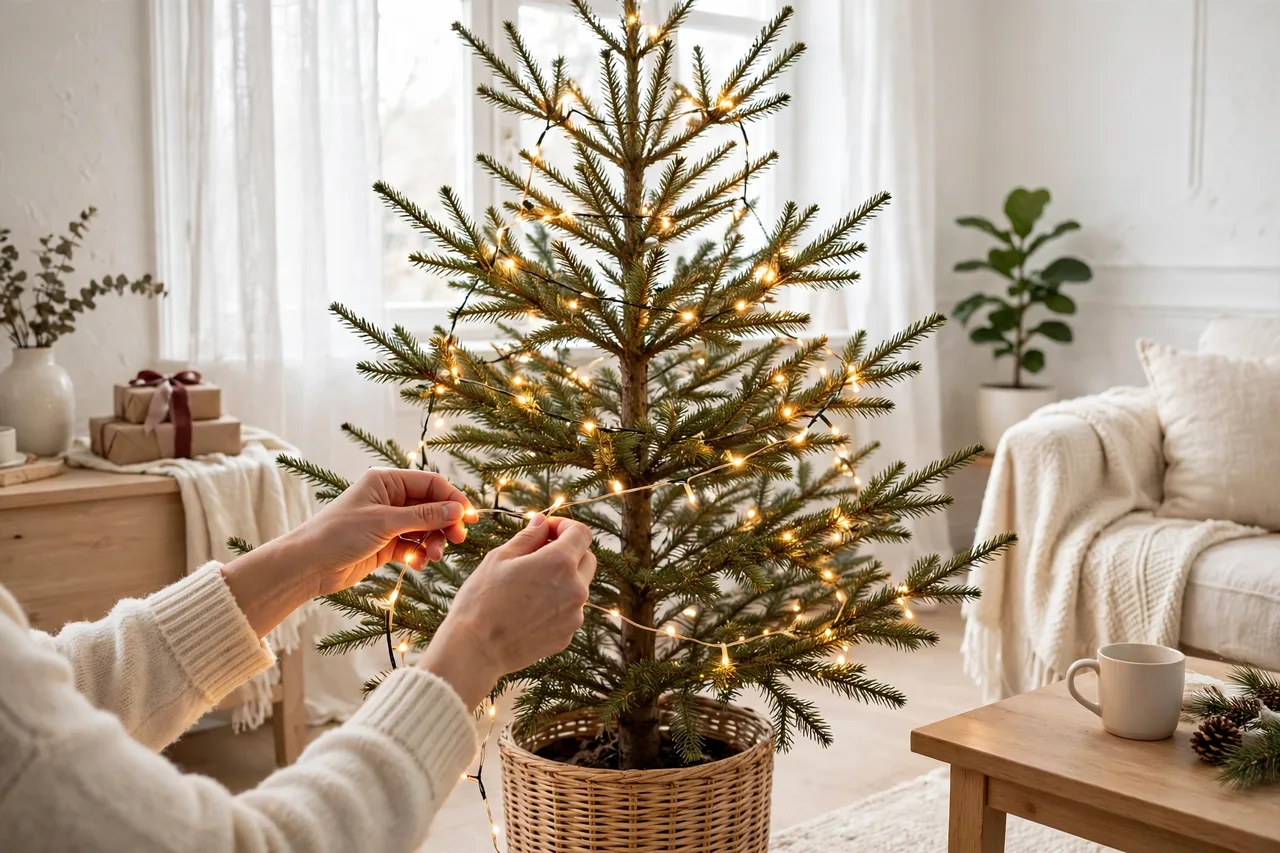
Lights always go on a bare tree, before a single ornament. Plug them in while you work, so you can see exactly where the dark spots are hiding.
How many lights? The classic designer rule is about 100 lights per foot (30 cm) of tree for a gentle glow — and double that if you love a tree that truly sparkles. So a 6 ft (1.8 m) tree wants roughly 600 lights, and a 7.5 ft (2.3 m) tree wants around 750. Pre-lit tree owners: you may smugly skip this entire step.
How to weave them: start at the bottom, near the trunk. Run the strand out along a branch to near its tip, then back in toward the trunk, then up to the next branch. In and out, in and out — like the lights live inside the tree, not on it. Lights placed deep, close to the trunk, are what create that magical glow-from-within look. Lights only on the surface look like the tree is wearing a necklace.
Warm white (around 2700K) is the cozy choice and flatters every palette. Mix in one strand of slightly larger “globe” bulbs if you want a designer wink — optional, but lovely.
Step 3: Ribbon or Garland — the Cascade Method
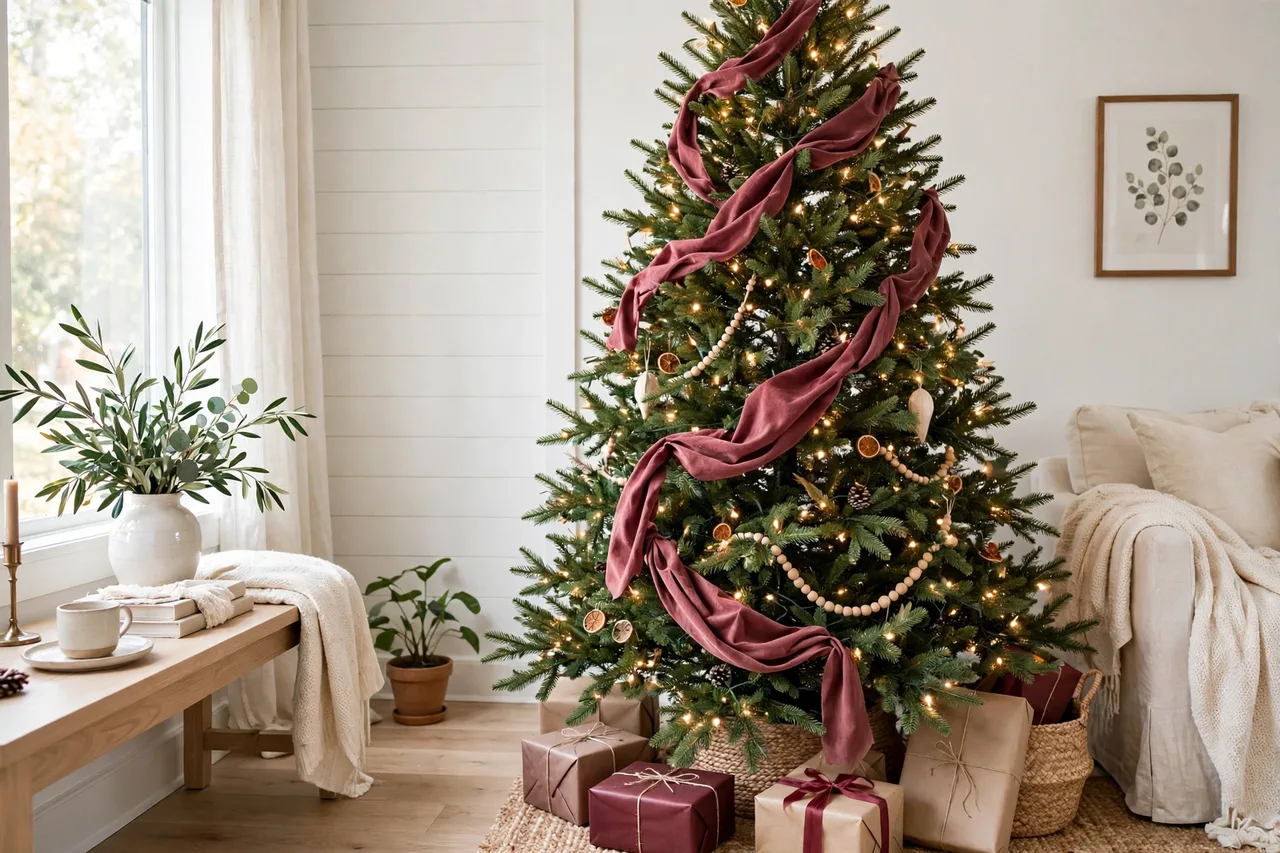
Now the tree gets its movement. Forget wrapping ribbon around and around like a barber pole — the designer way is the cascade.
Cut your wired ribbon into strips of about 3–4 ft (90–120 cm). Tuck the top of one strip deep into the tree near the top, let it billow out in a soft curve, then tuck it back in lower down. Start the next strip where the last one ended, zigzagging gently down the tree. The ribbon appears and disappears, and the tree suddenly looks like it has rhythm.
One standard roll — 10 yards (9 m) — is usually enough for a 7 ft (2.1 m) tree done this way, and wired ribbon costing $8–$15 a roll is the cheapest “expensive look” in all of Christmas decorating. Prefer garland? The same tuck-and-swoop idea works with beaded, wooden or greenery garlands: loose swoops, never tight rings.
Step 4: Big Ornaments First — Placement Rules That Work
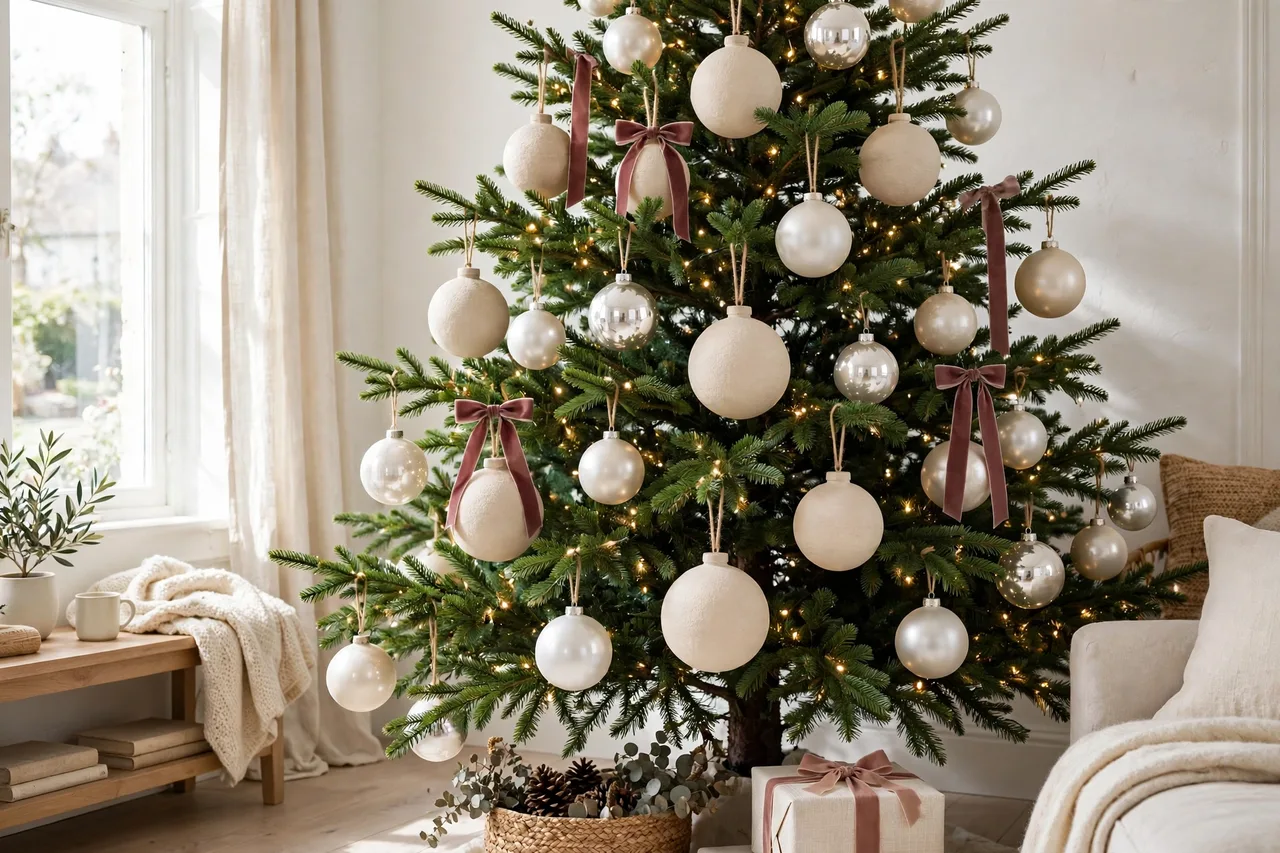
Time for the ornaments, largest first. Your big pieces — around 4–6 in (10–15 cm) across — are the anchors. For a 7 ft (2.1 m) tree, plan on roughly 12–18 of them.
Three placement rules do all the heavy lifting:
- Go deep. Hang big ornaments slightly inside the branches, not dangling on the tips. Depth is what makes a tree look rich and full, and your lights will catch them beautifully from behind.
- Zigzag, don’t line up. Place each big ornament above the gap between the two below it, in a loose triangle pattern as you circle the tree. Rows look like a shop shelf; zigzags look like a designer did it.
- Use odd-number clusters. Here and there, hang a little family of three — one big, two medium — close together. Odd groupings simply look better to the human eye. Nobody knows why. Designers don’t question it, and neither should we.
Save the lower third for your sturdiest big ornaments — the ones that can survive a curious toddler, cat or tail-wagging dog.
Step 5: Medium Ornaments and Small Fillers
Now walk your medium ornaments — 3–4 in (7.5–10 cm) — into the spaces between the big ones, mostly at mid-branch. These are the supporting cast: they connect the anchors and spread your colors and finishes evenly around the tree.
Then come the fillers, the smallest pieces that make a tree look finished: little balls, pinecones, dried orange slices, tiny bells, sprigs of berries or eucalyptus. Push them into the bald spots every tree secretly has — a small gap near the top, a thin patch on the side. Fillers go on the outer tips, where they catch the light and sparkle.
After this step, do the most important thing in this whole guide: step back to the doorway, and squint. Gaps and clumps jump out at a distance that you simply cannot see with your nose in the branches.

Step 6: The Special Pieces Get the Best Seats
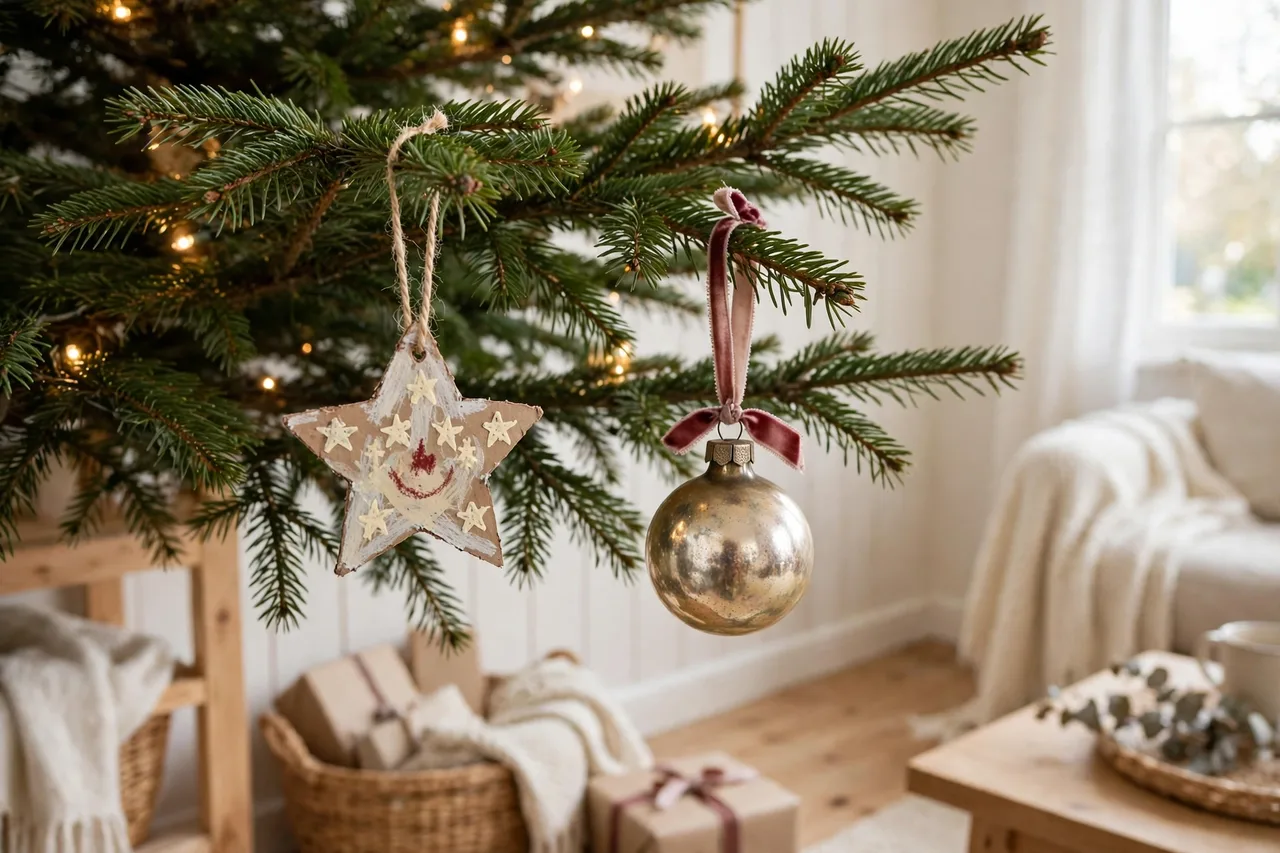
Every tree has them: the ornament your child made from pasta and pure confidence, the bauble from your first apartment, the slightly wonky angel from grandma’s tree. These are not decorations. They are the whole point.
Hang your sentimental pieces last, at eye level, toward the front — the best seats in the house. Kids’ handmade treasures go low at the front, where their makers can admire them daily (and they will check). Because they went on last, they’re never buried behind the matching set.
Matching sets make a tree pretty. The pasta ornament makes it yours.
Step 7: The Tree Topper Goes On
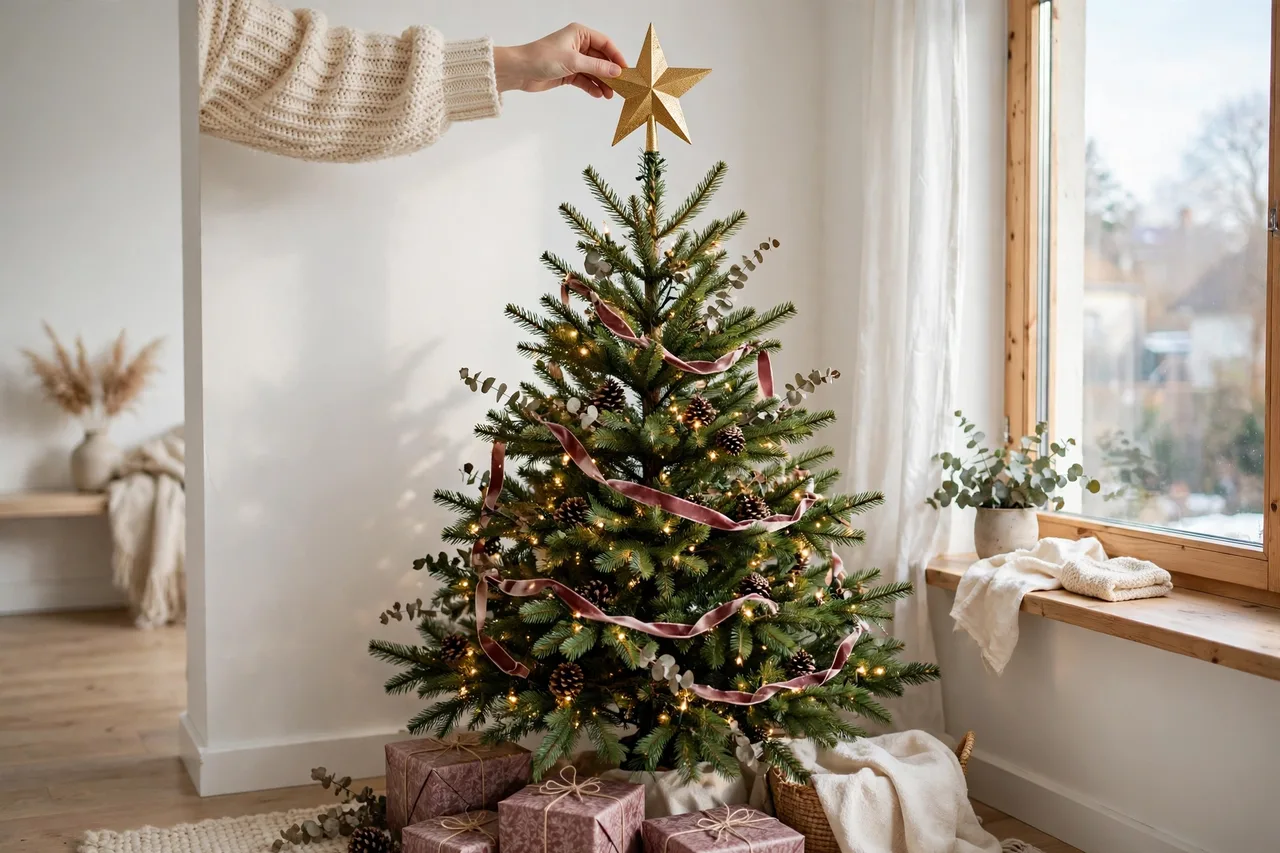
Star, angel, or a big beautiful bow — the topper is the tree’s exclamation point, so give it a moment. Ideally it goes on now, while you can still adjust the top branches around it without disturbing everything below.
Two practical tricks: first, check your clearance — leave about 6 in (15 cm) between the topper and the ceiling so the tree doesn’t look like it’s ducking. Second, secure it properly. A wobbly topper leaning at a sad angle ruins the whole effect, so anchor it with floral wire or a twist tie to the top branch (and slide a wooden dowel down inside the trunk line if your topper is heavy). Straight, proud, secure — done.
Step 8: Tree Skirt, Collar and the Little Scene at the Floor
Last step, and the one that makes the whole tree look intentional: dress the base.
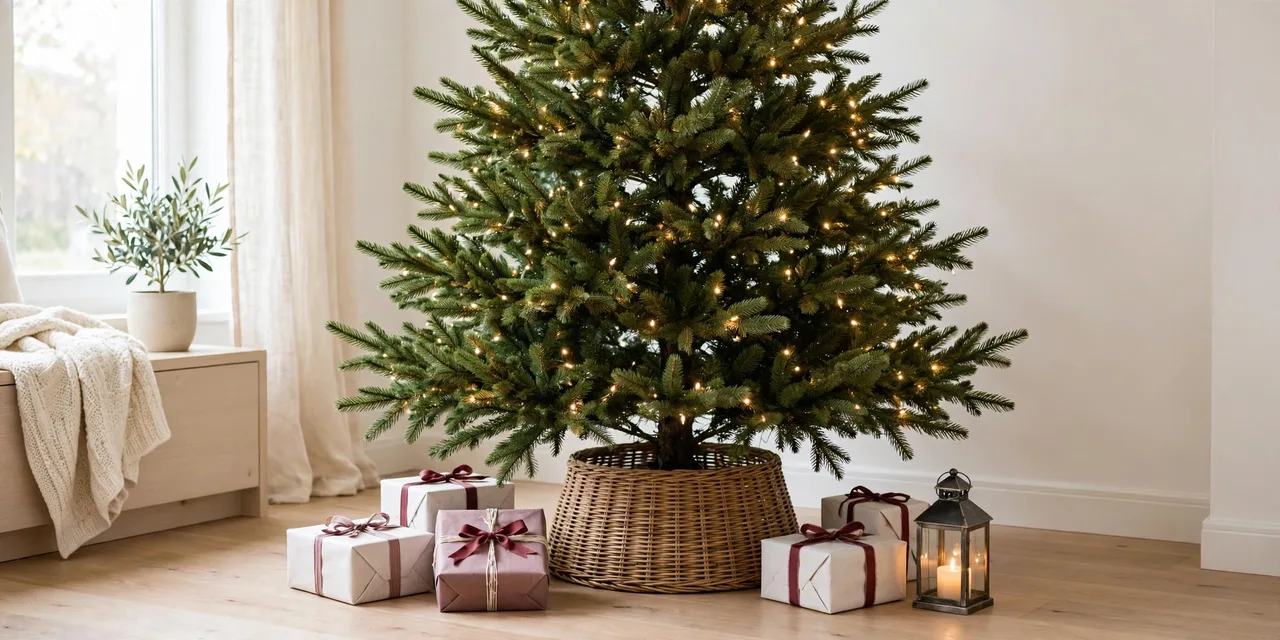
A fabric tree skirt gives a soft, traditional finish — lovely under a classic or Scandi tree. A tree collar (woven, metal or wood, usually $25–$45) gives a clean, modern line and hides the stand completely; it also has the magical power to stop cats treating the tree like a water park. A large woven basket works beautifully for a relaxed, natural look.
Then build the “floor scene”: a few early wrapped gifts, a lantern with a candle (real or flameless), a small stack of Christmas books, or a tiny village house or two. The eye travels down the tree and lands somewhere charming instead of on a bare stand — that’s the trick.
While you’re in the zone, carry the same palette to your front door with one of our favorite christmas wreath ideas — when the door and the tree speak the same language, the whole home feels designed.
How to Decorate a Christmas Tree Like a Designer: The Tips That Make the Difference
The steps give you a good tree. These habits give you the one people photograph:
- Palette discipline. Two or three colors plus one metal — no exceptions, no “but this one’s cute.” The cutest random ornament is still a random ornament. If it doesn’t fit the palette, it gets a place of honor somewhere else in the house.
- Mix your textures. Matte, shiny, glittered and natural finishes on the same tree create depth that a single finish never can. Rough pinecone beside smooth glass beside soft velvet ribbon — that contrast is the luxury.
- Step back after every layer. Lights on? Step back. Ribbon done? Step back. Take a quick phone photo, too — a camera shows you every gap and clump your eyes forgave. It takes ten seconds and it’s the designers’ worst-kept secret.
- Repeat something. One shape, one color or one motif appearing at least five times ties the whole tree together. Repetition reads as intention.
- Edit once. When you think you’re finished, take one or two things off. Almost every home tree is slightly over-dressed, and a tiny bit of breathing room looks expensive. For more looks built on exactly these principles, browse our full christmas decor ideas collection.
How to Decorate a Christmas Tree Without the Common Mistakes
- Ornaments before lights. Then you’re trying to weave lights around dangly baubles and questioning your life choices. Lights first, always.
- Everything on the tips. Ornaments only on branch ends = a tree wearing earrings. Push pieces deep for fullness.
- The ribbon ring. Ribbon wrapped in tight horizontal circles makes a tree look like a mummy. Cascade and tuck instead.
- Fourteen colors. Red Santas, blue lights, pink baubles, gold everything. Pick your palette and let the rest wait in the box — there’s always next year’s tree.
- Forgetting the back and sides. If the tree is seen from the hallway too, give those angles a little love — at least lights, ribbon and basic fillers all the way around.
- The leaning topper. Wire it straight. Future photo-you is begging you.
FAQ
How many ornaments do I need for a 7 ft (2.1 m) tree?
A good working total is 60–90 ornaments: roughly 15 large anchors, 30 medium, and the rest small fillers. Love a full, lush look? Head toward 100. Prefer calm and minimal? Fifty, beautifully placed, beats a hundred every time.
Do lights go on before or after ornaments?
Before — always. Lights first on the bare tree, woven deep into the branches. Then ribbon, then ornaments from big to small. This order is the heart of every christmas tree decorating idea that actually works.
What is the trick to ribbon on a Christmas tree?
Use wired ribbon — it holds its shape. Cut it into 3–4 ft (90–120 cm) strips, tuck one end deep into the tree, let the ribbon billow out in a curve, and tuck it back in lower down. Repeat in a zigzag. Never wrap it around in tight circles.
Real tree or artificial — how do I care for each?
A real tree needs a fresh cut at the base, a stand that holds water, and a drink every day (a fresh tree can take up to a quart / 1 liter a day in the first week). Keep it away from heaters. An artificial tree needs the fluffing step above, a gentle dust before lights, and storage in its box or a tree bag somewhere dry.
When should I put my tree up?
Whenever it makes you happy — but practically, decorating in late November or the first days of December means you enjoy the finished tree for the longest stretch, with zero last-minute stress. The steps above take about two hours, cocoa breaks included.
You Did It — Now Enjoy It
Look at that tree. Lights glowing from deep inside, ribbon drifting down, the pasta ornament in its place of pride. Knowing how to decorate a christmas tree was never about having a designer’s budget — it was about the order: fluff, lights, ribbon, big, medium, special, topper, skirt. The tree did the hard work; you just followed the steps.
Turn the overhead lights off, put the tree lights on, and go sit somewhere you can admire it.
Pin this guide for decorating day, and share the cozy. 🎄